When designing Runecairn, I wanted a way to quickly populate monster stat blocks in a consistent format without a lot of manual work. I decided to see if I could use a Mail Merge in Word and Excel to get the result I was after.
I set up my spreadsheet, naming the columns after relevant attributes (monster name, resilience, defence, etc.) and then I statted out the monsters. I filled out everything I wanted to display in the bestiary, knowing that I could customise the formatting. I saved the spreadsheet as I knew I’d need to access it later.

Once I had all my monster stats, I opened a new Word document and used the Mail Merge function to populate the stat blocks. Word can pull individual cell information from a spreadsheet and drop it into a document. The Mail Merge Wizard is super useful for walking you through the steps needed to do this.
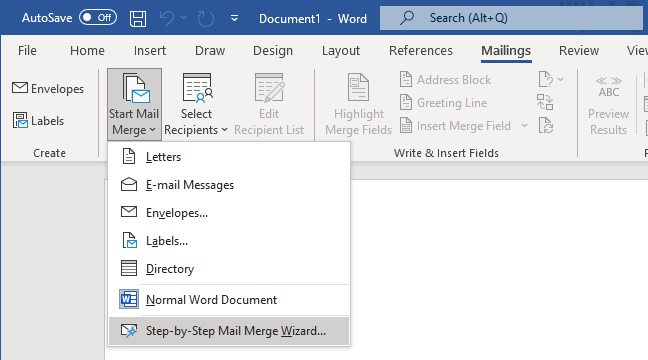
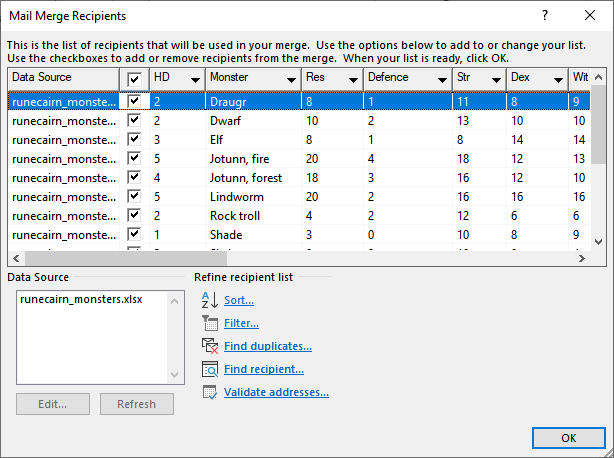
I used the Directory document type as I wanted to output a list of monsters. I pointed the Mail Merge wizard to my spreadsheet (the “recipient list”) and used the default table.
I had the format I wanted to use (Runecairn is a hack of Cairn so I used Cairn’s existing stat block as a template), so I just dropped the different elements in at the right place by choosing them from the More Items list.
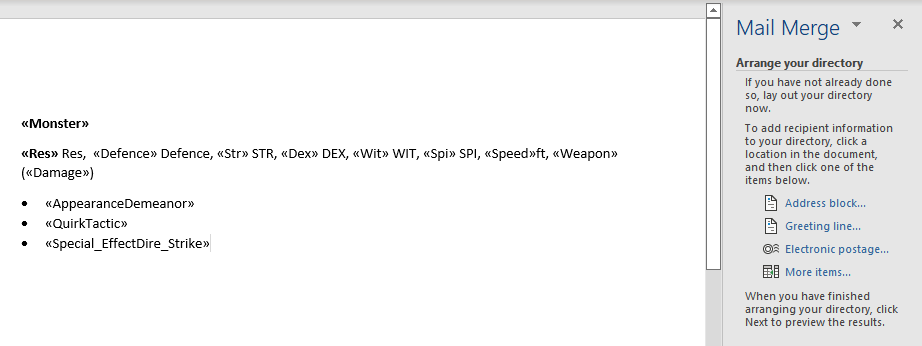
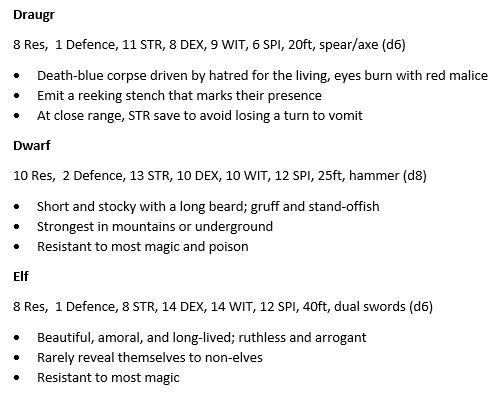
I checked periodically that everything was pulling through properly and that I was happy with the formatting. From there, I completed the Mail Merge and exported to a new document. All of the monsters were there, nicely formatted and ready to copy and paste into InDesign.
There are probably better ways to do this (likely within InDesign itself), but this is what worked for me.